|
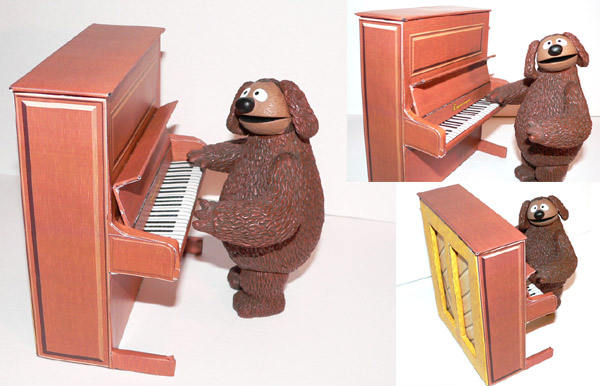
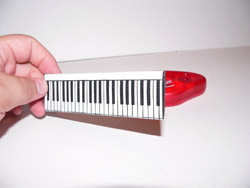
First, I'd like to point out that the Piano
pictured above is slightly different than the build it yourself
version. Also, please wait for and read all of the
instructions before starting your own.
(P.S. I'm going to hold off putting the decals and dimensions
online until we get a little farther along to keep people from
jumping the gun. Be patient, it'll take awhile to get all
the steps typed up!)
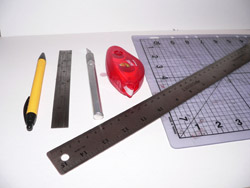
Tools you will need:
- Pen or Pencil.
- Small Ruler.
- Large Ruler or Straight Edge.
- Cutting Mat (Scrap Cardboard would work, but
I prefer a cutting mat.)
- Glue Gun (Not Shown. I have a low-temp
version)
- Double Sided Adhesive tape. (I use Duck
Brand. It's found in the office supply section of
Wal-Mart.)
Materials:
- Black Card Stock. I found this
stuff at Hobby Lobby. It's not quite a 1/16 of an inch
thick. It's pretty stiff and would kink if you tried to
bend it.
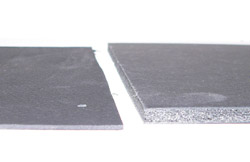
- Black Foam Core Board. Until I
started this project, I didn't realize they made black foam
board. The reason I like the back is: if there is a
bit of it showing thru when you are done, it doesn't show up as
much as the white. You could use white for this project
just make sure to color the edges where it could show with a
black Sharpie before you assemble.
- Paper. I like Heavy weight
glossy paper for these projects. It really depends on what
your printer prints best on. You could probably use
adhesive sheet for this. But, I would think it would be
harder to work with, and it's considerably more expensive.
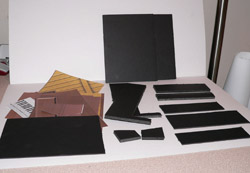
Step 1.
Print all the decals. Cut them out. Cut
out all the foam core and cardboard pieces.
Foam Core:
- Sides (2)
- Keyboard Sides (2)
- Back (1)
- Front (1)
- Under Keys (1)
- Above Keys (1)
Cardboard:
- Top
- Keys
- Inside Back
- Keyboard Cover
Step 2.
Cover the key board. The Keyboard is a
piece of the thinner cardboard. A couple of things, and
these apply to all of the decals and pieces. Always, fold
them BEFORE putting the adhesive on. After you have folded
them, test fit them BEFORE you put the adhesive on. Then put
the adhesive on and press firmly and smooth. I learned this
lesson the hard way so you don't have to. Also, the brand of
adhesive I work with is cheaper than the scrapbook stuff.
So, be cautious about using any adhesive that a scrapbooker may
have in the house.
On to Part 2....
Discuss in our forums! |
 |