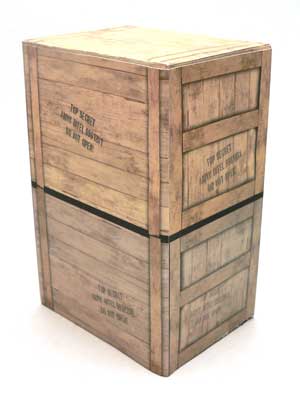
Alright. I'm calling this Crate Style "A".
It's a little easier to build than "B". Please read all the
directions before starting, and have fun. (Be careful with
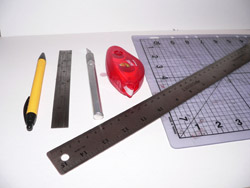
the knives and glue guns people.)Tools you will need:
- Pen or Pencil.
- Small Ruler.
- Large Ruler or Straight Edge.
- Cutting Mat (Scrap Cardboard would work, but
I prefer a cutting mat.)
- Glue Gun (Not Shown. I have a low-temp
version)
- Double Sided Adhesive tape. (I use Duck
Brand. It's found in the office supply section of
Wal-Mart.)
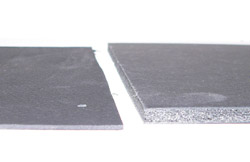
Materials:
- Black Foam Core Board. I really like
the black foam core with the black middle portion. It tends to
not show seams as much as the white. You can use the white, but
I'd color any of the seams that look like they'd show with a
black magic marker. You could use cardboard or matte board as
well, but you will need to adjust the piece dimensions to
compensate.
- Paper. I normally use a heavy
gloss paper for these projects, but I didn't in this case. I
actually used plain old laser printer paper. It has a bit more
texture than the stuff I normally use, and look good with the
wood print.
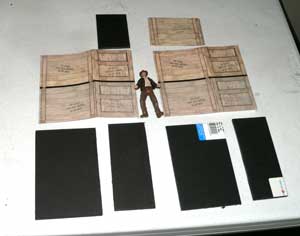
Step 1.
Print all the graphics. Cut them out. I tend to cut mine right
to the edge of the graphic. However, if you want to make it a
little easier, anywhere there is something that is folded under
something else, leave and extra 1/8" or so. The white shouldn't
show when you are done.
(Download Graphics
here.)
Step 2.
Cut out the Foam Core. I use a sharp craft knife with a metal
ruler. Also, try to cut the whole length of straight cuts at one
time.
Starting and stopping in the middle of a cut will leave you
with jagged edges.
For this project there are 5 pieces needed:
1. Top - 2 9/16" x 3 5/8"
2. Side 1- 4" x 6" (2 Required)
2. Side 2 - 2 9/16" x 6" (2 Required)
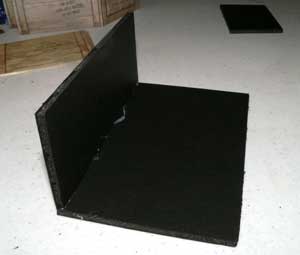
Step 3.
Alright, you're past the hard part. The first
construction step is to glue one Side 1 to one side two.
Keep it square! The face of shorter side should be even with
the edge of the longer side as shown.
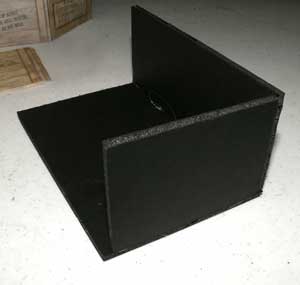
Step 4.
Time for the top. It goes in the corner you just made.
It is on the inside top edge of both of the sides. It will
be short in both directions if cut out right. (The thickness
of a piece of foam core.)
Step 5.
You guessed it, another side piece. Glue it flush with
the long edge and top as shown.
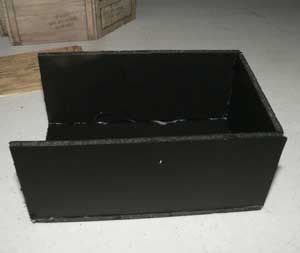
Step 6.
Last piece, and if you kept everything square and even you
should have a nice foam core box even all the way around.
Take a knife to any glue that squished out to the outside and the
construction part is done.
Step 7.
Alright, now were coming to decal portion. Before I
apply adhesive to any of these pieces, I always fold and test fit
them. In this case, each edge has a small tab. I have
cut a small square out of each corner so I didn't have to deal
with the excess when I folded them.
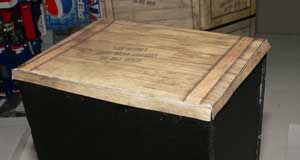
The first piece to apply is the top. I run the adhesive
along all edges and big "X" across the middle of the piece.
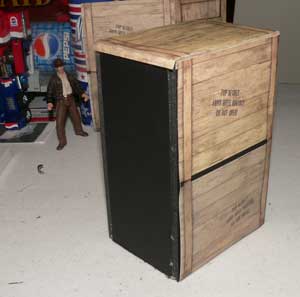
Step 8.
Again, test fit before placing the piece. There are two
folds on the side piece on in the corner and one on the tab side.
The thing to watch is how the vertical boards match the ones on
the top.
IMPORTANT! Read Step 9 before applying the adhesive.
You don't want to put adhesive on the non-tab edge of this piece
until the after the next step .
In addition to the tabs and "X"'s, on this piece I also put a
strip of adhesive down the inside of both sides of the corner.
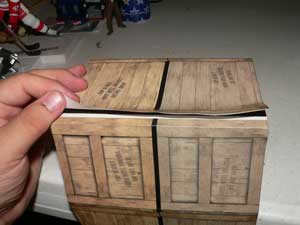
Step 9.
This is the trickiest part of the decal application.
Here's where you should have left the adhesive off of the first
piece. (You can see I left a little extra white paper on the
underneath piece.) I applied the second piece. Then
gently lifted the first piece, and put adhesive on the second
piece right down the white stripe.
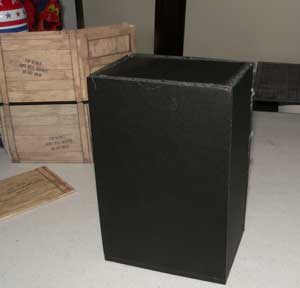
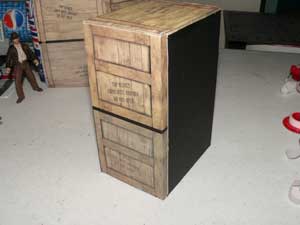
Step 10.
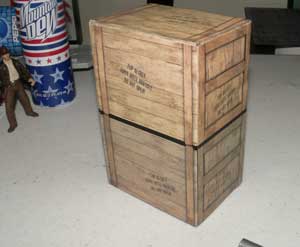
If you have done everything correctly, you should have a stack
of two crates for Indy stand on. An easy variation of this
would be to only make the top box. It would be as simple as
making the foam core box the height of the top box and cutting off
the excess decal material. Also, if you know you are going
to have a one sided display, you could leave off the back foam
core and decal.
Discuss in our forums! |